Overview
Gratis Popup creates conversion popups and slide-ins — exit-intent offers, timed prompts, scroll-triggered messages and click-to-open modals — with page targeting, a cookie-based frequency cap and an accessible dialog. Each popup is a normal content item you build in the block editor, so the body can hold any content, while its behaviour is configured per popup. A small set of global options control the system site-wide.
Creating and managing popups
- In the admin sidebar open Popups, then click Add Popup.
- Give the popup a title and build its body with the block editor.
- Set its behaviour in the Popup Settings meta box (covered below) and Publish — only published popups display on the front end.
Opening the settings screen
- Go to Popups → Settings (URL:
/wp-admin/edit.php?post_type=gratis_popup&page=gratis-popup-settings). - Adjust the global options, then click Save Changes.
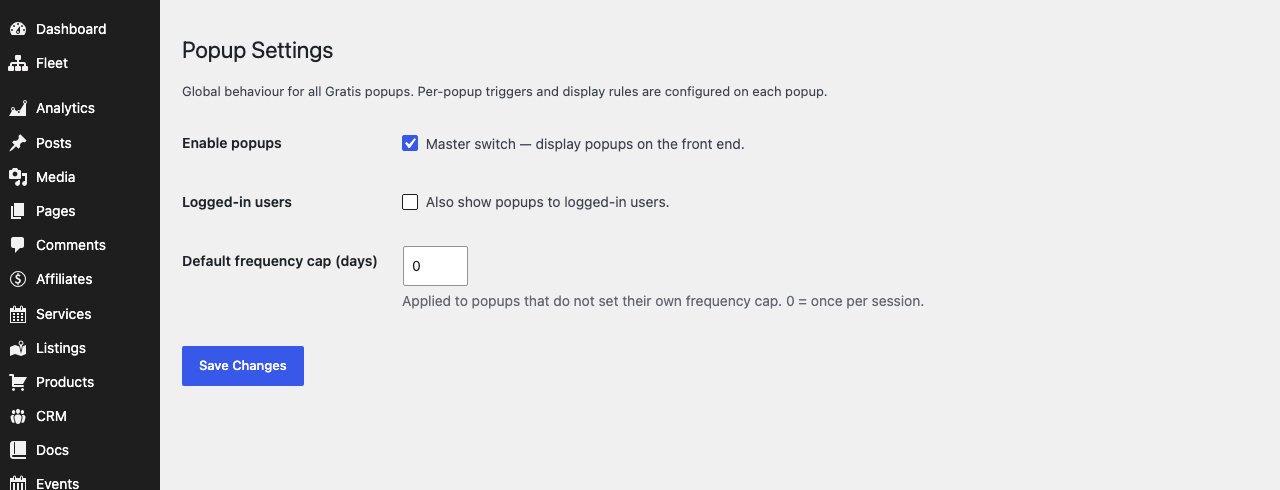
Global settings
- Enable popups — the master switch that displays popups on the front end. Turn it off to hide every popup at once without unpublishing them.
- Logged-in users — also show popups to signed-in users. Off by default so members and editors are not interrupted.
- Default frequency cap (days) — applied to any popup that does not set its own cap.
0means show once per browsing session.
Per-popup settings
Each popup carries its own Popup Settings meta box on the edit screen:
- Trigger — what opens the popup:
Time delay,Scroll percentage,Exit intent, orElement click. - Delay (seconds) — the wait before opening, used with the Time delay trigger.
- Scroll depth (%) — how far down the page a visitor scrolls before the popup opens, used with the Scroll percentage trigger.
- Click selector — a CSS selector (for example
.open-popup, #signup-btn) whose click opens the popup, used with the Element click trigger. - Position —
Center,Top bar,Bottom right (slide-in)orBottom left (slide-in). - Animation — the entrance effect:
Fade,Slide,ScaleorNone. - Overlay — dim the page behind the popup for true modal behaviour.
- Frequency cap (days) — after a visitor closes the popup, hide it for this many days (cookie based).
0shows it once per session. - Show on — where the popup appears:
Entire site,Front page only,All single posts,All pages, orSpecific post/page IDs. - Specific IDs — comma-separated post or page IDs (for example
12, 34, 56), used with the Specific post/page IDs target.
Recommended starting point
- Leave Enable popups on and keep Logged-in users off so signed-in staff are not interrupted.
- Start with one popup using the Exit intent trigger, Center position and the Overlay enabled.
- Set a Frequency cap of 7–30 days so repeat visitors are not shown the same popup on every visit.