Overview
Gratis Automation is WordPress-native workflow automation: you build simple “when this happens, do that” rules entirely inside your site, with no external service. Each automation pairs a trigger (a WordPress event) with one or more actions, and you can enable, disable, or delete rules at any time from one screen.
Opening the settings screen
- In the WordPress admin sidebar, open Tools.
- Click Gratis Automation (URL:
/wp-admin/tools.php?page=gratis-automation). - Use the list to manage existing rules, or the form below it to add one.
Triggers (the “When”)
A trigger is the event that starts an automation. The available triggers are:
- Post published — fires when any post is published.
- User registered — fires when a new user account is created.
- Form submitted — fires on a Gratis Forms submission (the
gratis_form_submittedevent). - Comment posted — fires when a visitor leaves a comment.
- Scheduled (hourly) — runs on a recurring hourly schedule rather than in response to a user action.
Actions (the “Then”)
An action is what the automation does when its trigger fires. The actions you can choose in the form are:
- Send email — sends a message using the Email recipient and subject you provide.
- Call webhook — sends a JSON
POSTwith the event context to the Webhook URL you provide, for connecting to outside services. - Purge cache — clears site caches by firing the suite’s
gratis_cache_purge_allevent.
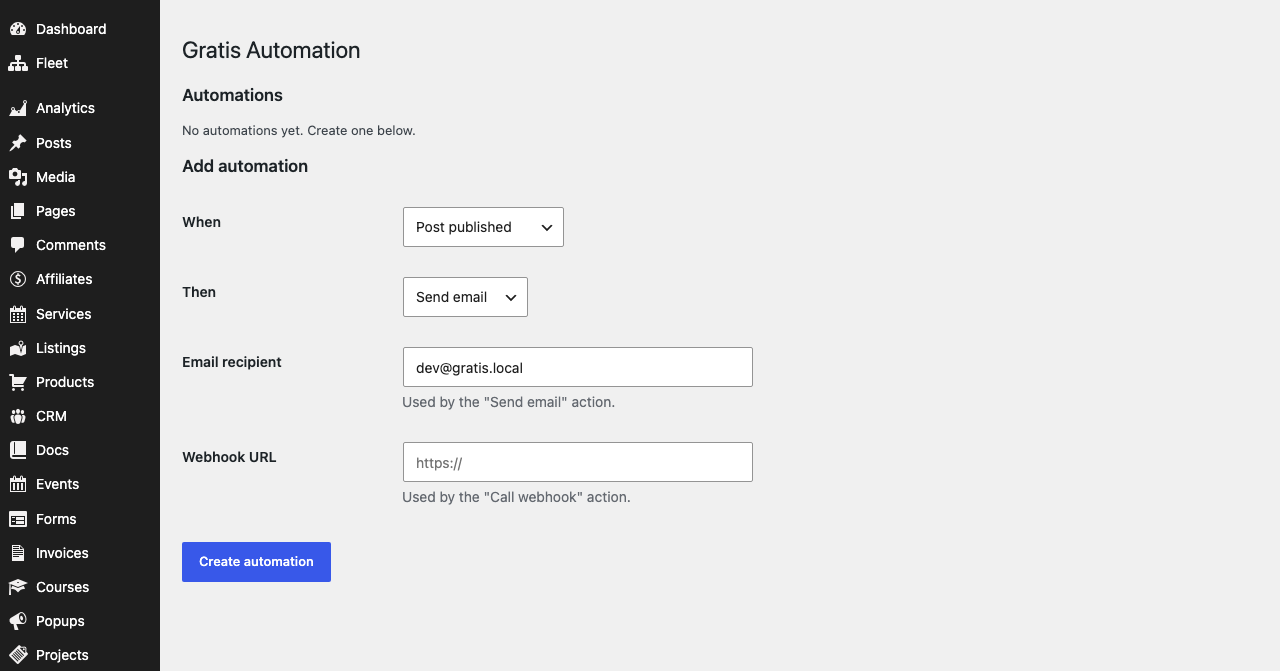
Adding an automation
The Add automation form combines a trigger and an action into a new rule. Its fields are:
- When — the trigger from the list above.
- Then — the action to run.
- Email recipient — the address used by the “Send email” action; it defaults to your site admin email.
- Webhook URL — the endpoint called by the “Call webhook” action.
Click Create automation to save it. New rules are active immediately.
Managing existing automations
The Automations table lists every rule with its ID, trigger, actions, and active state. Each row offers Enable/Disable to pause or resume a rule without deleting it, and Delete to remove it (with a confirmation prompt). Disabled rules stay in the list but never run.
Recommended starting point
- Start with a low-risk rule, such as Post published → Send email to yourself.
- Confirm it works, then disable rather than delete while you experiment.
- For integrations, use Call webhook and point it at the receiving service’s URL.
- Add a Scheduled (hourly) → Purge cache rule if you want regular cache clears.